FOR starters, bicycle maintenance can sound like a series of complicated steps – some of us even immediately imagine that maintenance can only be done by an expert. Here’s the truth: to check whether your bike is okay or not, it’s not too difficult and can be done at home.
You can call this tip the M check – which named based on the direction you check the bike: from the front to the back. Don’t forget to clean your bike first before you check it, so that it’s easier for you to assess. Check out this short guide to basic bike health checks for you:
1. Check Wheels, Brakes and Hubs

Put these components to your check lists for this first step: quick release, hubs and brakes. The first thing you should pay attention to is whether the wheels are securely installed. Usually, bicycle wheels will be installed with a quick release system or bolt-thru axle. Make sure the quick release has been properly tightened. You can clamp the lever down and turn the nut on the other side until it’s tight against the fork (or frame).
Then, open the lever and give the nut another full turn or so. You should now be able to tighten the quick-release firmly without forcing it, ensuring the wheel is firmly and squarely seated in the dropouts.
For the hub, try the test by giving the top of the wheel a sharp downward tap with your hand to check their safety. While you’ve got the wheels in hand, give the rims a little side to side wobble check to feel for loose hub bearings. Any looseness will mean an adjustment or hub bearing replacement is necessary.
As a stopping force, checking the brakes is essential. Giving the brake levers a squeeze to check if it’s working correctly. If it feels uncomfortable/spongy, brake bleeding may be needed.
In addition, make sure the disc brakes are in the correct position and running cleanly.
2. Check Tyres
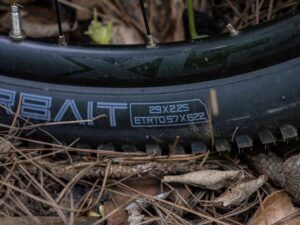
Checking tires is one of the basic skills that riders must have. Here’s the thing that you should check: check if the tires have enough pressure. Besides that, try to visually check whether the tires are properly seated on the rim, then are there any signs of excess wear or damage.
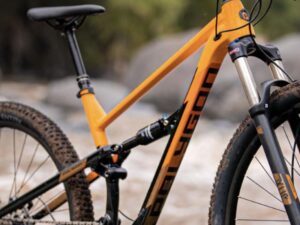
3. [For Mountain Bike] Check Your Suspension Fork
![3. [For Mountain Bike] Check Your Suspension Fork](https://blog.rodalink.com/wp-content/uploads/2023/02/rodalink-services-blog-susp-fork-300x225.jpg)
Inspect your fork for any cracks, as well as checking the stanchions if there’s any excessive suspension fluid near the bolts. For front and rear air suspension, you can also check whether the sag meets your needs at least once a month.
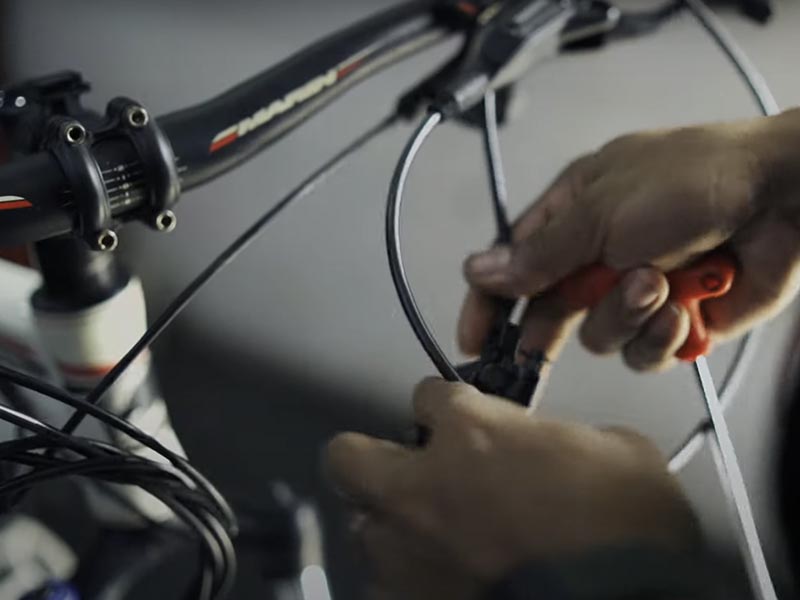
4. Check Cockpit
It is important to check the headset to see if there is obvious play. You can check this by trying to rock the fork forwards and back. If you notice the bike knocking, try to isolate where it’s coming from by placing your fingers on the joints.
Next, lift the wheel and turn the bar slowly. If you feel any grinding or resistance, it might be a good idea to service your headset or replace it.
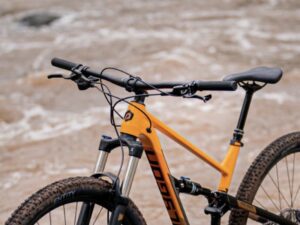
5. Check Bike Frame
Check visually whether the condition of the bike frame is still okay by seeing if there are any hairline cracks, especially in the welds, head tube and down tube areas. In addition, try to check where the accessories are installed, such as the bottle cage, whether they are properly attached and not rattling.
6. Check Cranks and Pedals
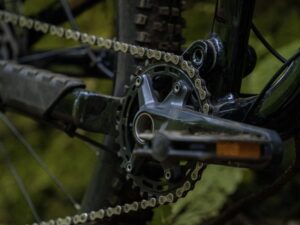
In this section, you should assess a few things: the drivetrain, chainrings, bottom bracket and pedals. Make sure your drivetrain is working properly by giving the cranks a spin in backward direction. If your drivetrain works well, then the BB will also work smoothly.
Inspect the chainrings for damaged, missing or excessively worn teeth. Worn chainrings will wear to a shark-fin like profile. Rock the cranks toward the frame to check for any grinding, resistance or play. If you feel any play, that may mean you need to replace the bottom bracket.
Check your pedals by giving them a spin. A well-serviced pedal won’t spin freely because the grease should stop it. Again, check for play by rocking the pedal body. If you find your pedal is not performing correctly, it’ll need to be replaced or serviced. Check your pedals are fitted correctly while you’re at it.
7. Check Saddle and Seatpost
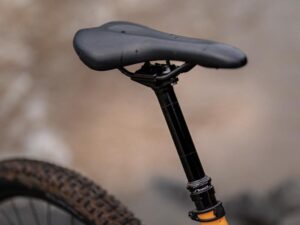
The seatpost can get stuck in the frame and it can be difficult for us to separate it. The way to prevent this is to regularly remove and re-grease your seat post. Don’t forget to clean it regularly to make it easier for you to maintain its health.
8. Check Rear Wheel and Drivetrain
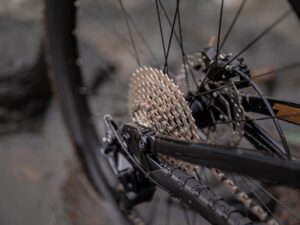
You can repeat the same steps to check the rear wheel; starting from checking the condition of the wheels to the hubs. The essential part that you have to pay attention to in this section is of course the drivetrain as the main “engine” of driving a bicycle. Check starting from the front and rear derailleurs, by trying to pedal by hand.
The chain should shift up or down one set of teeth for every click of the relevant shifter. If the chain doesn’t shift in this way, is hesitant, or drops off the teeth, then you may need to adjust the gears on your bike.
Simple things like cleaning your bike regularly can help you keep your bike healthy. Immediately check your bicycle if you notice any discomfort or strange sound coming from your bicycle. If you are still unsure whether your bicycle is working properly, you can bring your bicycle to Rodalink to get advice and service from our professional mechanic directly.
Stay healthy, Friends!