Being metal-made, a gear cable tends to rust when frequently exposed to harsh weather. So learning how to change a gear cable on a mountain bike can come in handy. After all, wasting a few dollars to pay for changing your gear shifter cable doesn’t seem very budget-friendly, especially when you need to replace them often.
Besides, replace shift cable bike is not hard and you can do it. All you need to do is get the right tools and follow the right steps. Hence, we are writing this article to help you out. So, here is your guide, and happy reading!
What is Gear Cable?
The thing about not getting the hydraulic disc brake and electronic shifting are that you will have to pay extra attention to the cable as these parts play important roles in ensuring your bike stops and shifts smoothly.
Break and gear cable comprise an inner cable made of twisted steel wire that runs through an outer sleeve from your bike’s control levers on the bar to the brakes or derailleurs. Although people often say that a gear cable can last for years, in reality, gear cable replacement is one of the most common things to happen, frequently.
This is because gear cables have outer finishing in “stops” that attach to the frame. Therefore, these parts are often left unprotected and easily wear off.
Learn How to Replace Gear Cable
Before we get into the topic of how to replace your bike shifter cable, you will have to prepare the following tools:
- Cable cutters;
- Allen keys;
- A new cable.
Initially, changing the gear cable shouldn’t take more than five minutes—at least that’s what it took before the invention of the internal routing cable. However, getting the correct setting after replacing your gear cable is another story as it might not be as easy. Nevertheless, let’s see how you can change the gear cable on your own:
Unfasten the Old Cable
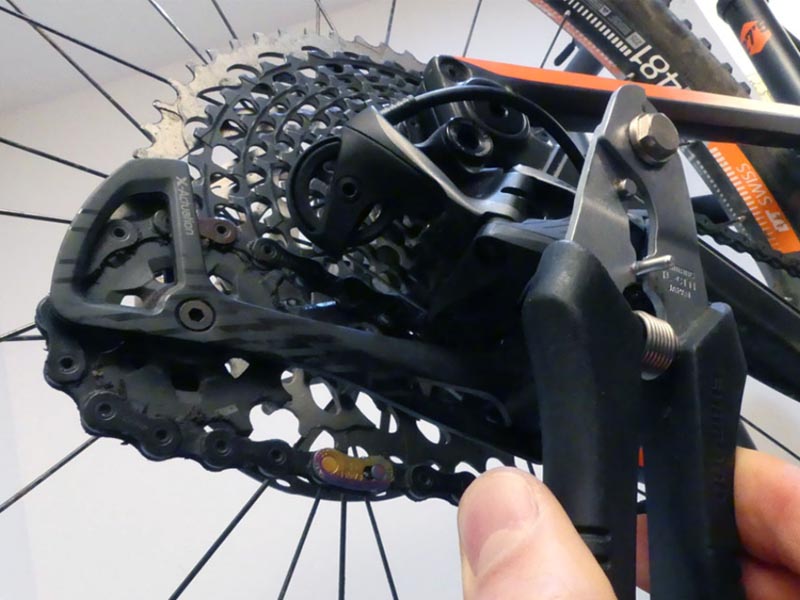
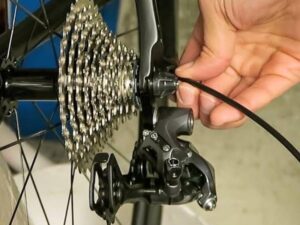
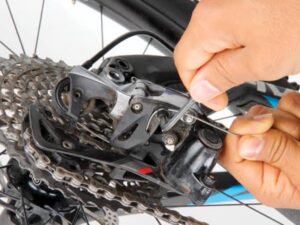
Fully downshifting the rear gear then undo the rear derailleur cable anchor bolt. Once done, unthread the inner cable from the grooves and guides that are on the rear and underside of the rear derailleur.
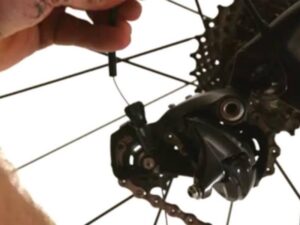
Pull Out the Cable
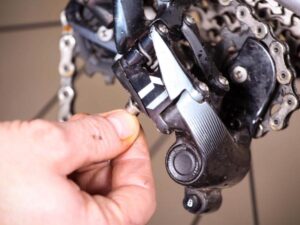
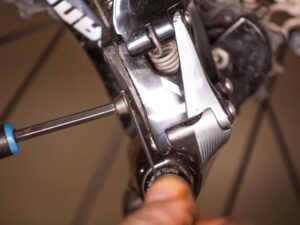
Pull the inner cable out through the derailleur barrel adjuster. If there’s a protective cap crimped at the end of the cable, give it a tug to pull it off.
Remove Lever
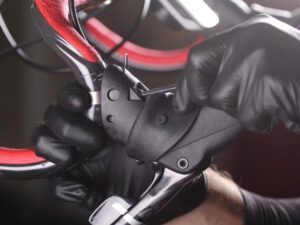
Unwrap the tape from the right-hand side of the bar and roll the rubber lever hoods forwards with the 5mm Allen key to loosen the retaining bolt that holds the brake lever to the bar.
Slide the Lever Off of the Handlebar
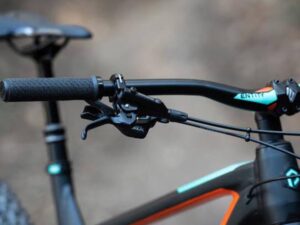
Since it is kinda difficult to thread in the new inner cable through the shifter on the bar, sliding the lever off of the handlebar is a good hack.
Preparing New Inner Cable
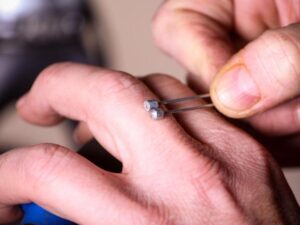
Measure your old cables for the new one by removing your old cable end caps and putting them against the new cable. Once you got the correct measurement, use a cable cutter and snip the new cable on the same length as the old ones.
Note that you can reuse the old end caps if there’s no damage to them. To get a clean and tidy cut of the cable, make sure to use the proper cable cutter instead of pliers. After cutting the new cable to match the length of the old one, you can use Allen Key to make a small hole on the top of it so there won’t be any friction when you are putting the new cable there. After that, you can put the cable ends of the outer in the front and rear ends of the cable.
Feed-in the New Cable
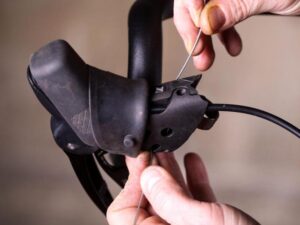
With the fresh cable cut, you can feed the end into the hole in the lower inside edge of the plastic lever housing that goes into a red plastic piece and up and around the ratchet mechanism, exiting the lever body through a hole in its top outside edge.
Pull the New Cable Through
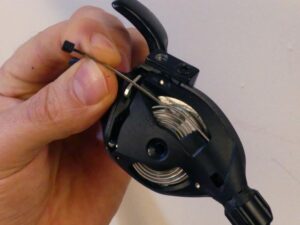
You will have to ensure that when you reach the last bit of the inner cable, the nipple has smoothly gone into the hole in the shifter body and sits fully into its seat. Without kinking the cable, give the end handing out of the shifter top a tug for assurance.
Lube the Cable
Since there will be some sharp turns to make it from the shifter and around the first bend of the bar, greasing the cable will help mitigate the friction.
Replace the Lever
Fitting the brake lever back to the bar, make sure it’s at the right height and angle then bolt it down with the 5mm Allen key. With the run of housing ready, thread the greased inner cable through the outer then push the outer ferrule fully home into its hole in the shifter body. Tape the gear and brake lines to the bar.
Thread the Cable
For this step, you will have to refer back to the type of your mountain bike frame. If it comes with external routing, you will only have to thread your fresh inner cable back through the stops, and housing runs to the rear derailleur. As for the internal routing, it will vary depending on the brands.
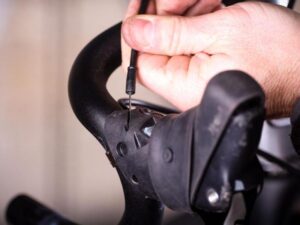
If you are using a Shimano shifter, for example, you can use the 3mm Allen Key to take off the top cover before sliding out the old cable and insert the new one before placing back the cover and shifting it back on the bike.
Thread the front end of the new cable into the shifter and thread the rear end of the new cable to the cable that pop up from the other side of the bike until it slide down to the read mech of the bike.
Route the Cable Through the Frame
Remove the bolt which retains the plastic cable guide. The way the guide is accessed might vary depending on the frames.
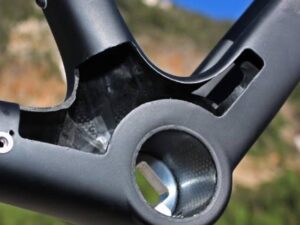
Push the Inner Cable Fully Into the Down Tube
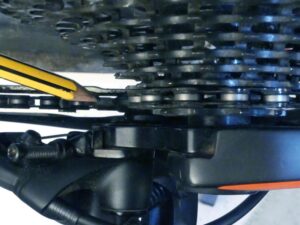
Poke your fingers into the bottom bracket shell and inside the bottom of the downtube. Feel around for the cable end and coax it through.
Thread the New Inner Cable
Pull the cable through and slide the guide back up the cable and work it back inside the bottom bracket shell and into its normal position. Secure the guide with the 4mm Allen key. You will have to be extra patient to get this done, though.
Thread the Cable Through the Stay
As the end of the inner cable usually sit inside the chain stay, you can pull the cable tight with your left hand while operating the shifter using the right. Make sure the inner cable runs smoothly.
Fit the Last Piece of The Outer
Thread the last piece of outer housing onto the inner cable while making sure that the ferrule is seated at the top of the chain stay.
Fit the Cable into the Derailleur
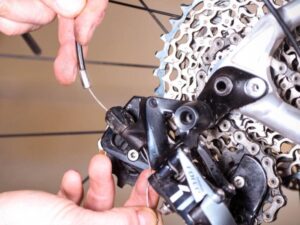
Now it’s time to pop the end of the inner cable through the rear derailleur barrel adjuster but beware of not damaging the end of the cable or else you will have to trim the spare cable and redo it again.
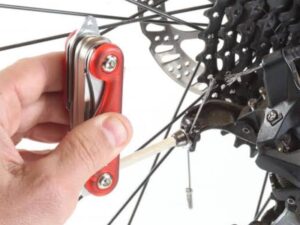
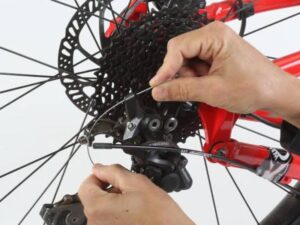
Tighten the Cable Clamp
Lastly, route the cable inner through the grooves and guide the rear derailleur into the clamp. Pull the cable until it is tight, but don’t let it pulls the derailleur’s parallelogram, then tighten the clamp bolt.
Step to Change Gear Cable on a Mountain Bike
If you are feeling like the step above is too confusing to do, well, don’t give up just yet. You can always adapt to Shimano shifter cable replacement mountain bike that can be done in 12 simplest ways, the steps are:
- Shift the gear to the hardest one;
- Loosen the gear cable from the rear mech;
- Remove the dust cover from the shifter;
- Snip cable end off and pull through from shifter end;
- Release clutch in rear mech;
- Push rear mech by hand to test limit screws and adjust screws if needed;
- Feed new cable from the shifter;
- Hold the cable outer at the mech end and pull the inner to take up slack;
- Insert feral over the inner cable and locate on end of cable outer;
- Insert into the mech and tighten the inner cable to a torque range between 4 to 7 Nm;
- Get the barrel adjuster at shifter to be fine-tuned;
- Replace dust cap and tidy inner cable.
How is it? The Shimano MTB shift cable set instructions to turn out to be way lot easier than the previous one, right? When releasing the old cable end, for Shimano you will have to remove the cable port while for the SRAM shifter cable replacement, it usually gets done by either removing the cable port or cover at the shifter to remove the inner cable.
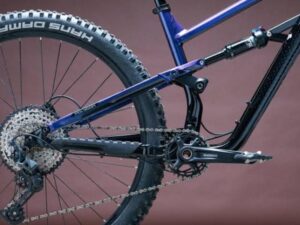
Regardless, you will not have to worry about going through a long way in replacing brakes and gear cables if you are riding the Polygon mountain bike. This is because most Polygon mountain bike is built with a hydraulic disc brake and electronic shifting hence, there’s no such thing as a Polygon mountain bike gear cable to be replaced.
If you haven’t gotten a mountain bike or are considering investing in a new mountain bike, you can give Polygon a shot. Not only that this bike is using the top tier components such as the Fox or RockShox suspension, the Shimano or SRAM groupset, and the super-advanced ALX Alloy carbon frame, Polygon also offers a super competitive price for a bike with this great quality.
If you are thinking of making a purchase, you can go to Rodalink, the official distributor of Polygon which also sells varieties of other renowned brands of bikes, parts, accessories, and apparel. Just tell them what is your riding style and the budget you have, and they will recommend the most suitable bike for you.