If you happen to just clean out your garage and found your old full-suspension mountain bike that probably still going to work wonder but you don’t know how to dismantle mountain bike forks and replace them with the more advanced full-suspension front fork without breaking your bank account, well, coming across to this article is a sign for you to keep going with your idea.
But anyway, many other reasons make cyclists decide to change their bike forks into something new and more modern which is also a cool idea. So, let’s get started and see what we can do to have a mountain biking front shock replacement without hurting our savings by much. Enjoy your reading!
What is Mountain Bike Forks?
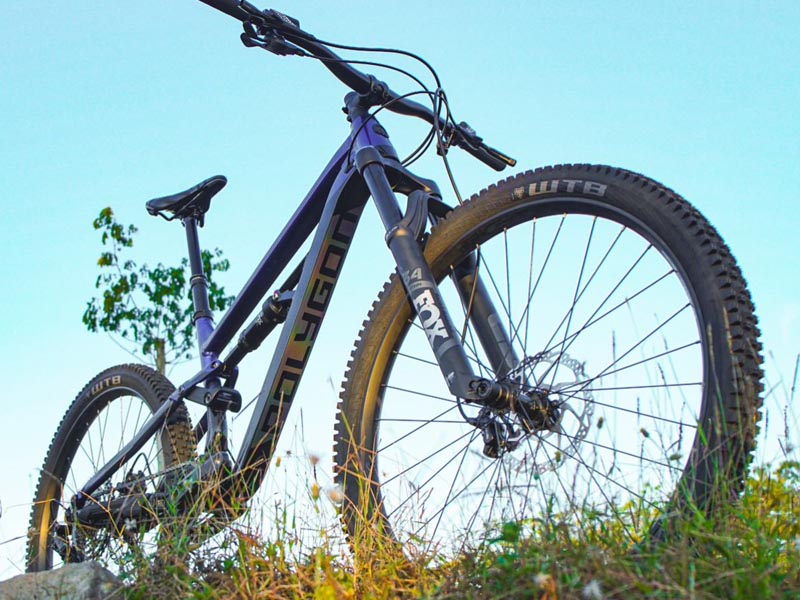
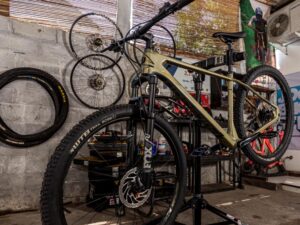
First and foremost, you should already know what mountain bike forks are. A fork is also known as the front suspension of the bike. This part takes a majority of a rider’s weight since mountain bikers are often seen riding with the weight mostly put on the front of the bike.
A mountain bike fork usually features a degree of adjustability ranging from firm to plush, also adjustability in the amount of travel for some models. The front wheel is attached to the lower fork, while the stanchions are attached to the fork steerer attached to the head tube of a bike frame.
Tools for Dismantle Mountain Bike Forks
It’s time to get prepared for how to take apart front suspension forks course. But before we start the step-by-step, you will have to prepare the tool needed to help you get the job done. The tool is:
- Allen Keys
- Hacksaw or Pipe Cutter
- Metal File
- Tape Measurement
- Grease
- Hammer
- M5 Bolts
This tool is generally needed when you want to learn how to remove and replace the front fork of your bike. Once you have gotten them prepared, you can start to work on your bike.
Step to Dismantle Mountain Bike Forks
Follow the steps below to start working on your fork suspension:
- To begin, you have to first remove the front wheel of your mountain bike;
- Take the front axle or quick release out of the bike and put your wheel aside;
- Then, remove the brake caliper and cable routing off your existing fork, you can leave them to dangle down while making sure it doesn’t hit anything;
- Once done, you can release the actual cable guide on the fork until it comes off the fork and just removes it. In this step, you can put back the little bolt on the fork so you don’t lose it;
- Now loosen off the stem clamp bolts by using the 4mm to 6mm millimeters Allen Key but don’t remove the top cap just yet;
- Once you are done with removing clamp bolts on either side of the stem, you can slowly undo the top cap using Allen Keys while holding onto the fork so it can’t go anywhere and you can proceed to remove the top cap;
- Whilst grabbing the fork, slowly slide the stem off the steerer tube and let it hang down;
- Take off the tube spacers under the stem, then slide up the top plate of the headset before removing the spacer, compression ring, washer, and top bearing race. Put all of the parts aside;
- Once you have successfully removed the parts, slide off the forks from the head tube;
- Pay attention to the lower bearing race, sometimes it sticks inside of the head tube so you have to put your hands on it while removing the fork so it doesn’t slide off to the floor and get dirty;
- After removing your old fork, take out the little spacer or seal and crown race;
- Clean out and inspect your bike frame and ensure there’s no damage occurred;
- If your new fork is having a length different from the current one, you can use a tape measure to get the right length of the fork;
- You can use a marker to mark the length of the fork steerer tube and cut the extra length off using a hacksaw or pipe cutter. Remember to double-check the measurement before actually cutting the fork;
- After cutting the extra length of your forks, use the metal files to smooth off the edge of your steerer tube. Use the rounder edge of your metal files to smoothen the inside of the steerer tube;
- Clean the dust of metal files off from your fork because we don’t want that to get into the machine and affect the bike performance;
- Slide the crown race back to the steerer tube;
- Install the star fangled nuts that sit inside of the steerer tube by using M5 bolts and hammer them into place;
- Lubricate the bearings and your steerer tube before you slide it back to the frame;
- Put back the head tube (the bearing, compression ring, seal, and top plate of the headset);
- Put the top cap back and nip it using the Allen Keys.
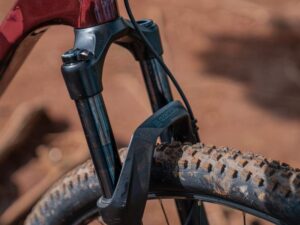
What you have to pay attention to is there are two types of crown races. The split ring one and the push-on one. If your bike is using the split ring crown race, it will be easier to remove. You can just use an old and flat screwdriver to loosen the crown race and take it off from the fork steerer tube.
But if you are having the push-on screwdriver, it will be best to take your bike to the workshop and get the fork changed there. This is because it will be safer to remove a push-on crown race using the crown race puller which is often found in the bike workshop.
How Often Should Mountain Bike Forks be Serviced?
Just like any other part of the bike, a fork suspension also needs regular maintenance. For the frequency, it depends on how often you ride your bike and what kind of terrain it is used to hitting.
Generally, it will be best if you lubricate and clean your front fork every 25 riding hours and get a thorough full service every 200 riding hours. Suspension service usually includes removing the lower legs, cleaning the foam rings, and reapplying the lubricating fluid. This process also involves cleaning and inspecting dust seals, stanchions, and bushes then topping up the fork oil and reassembling the fork.
Under certain circumstances, you might get into a situation of mountain bike front suspension stuck. This is probably because there’s air trapped in the negative air chamber. If this happens, please never try to disassemble the outer air sleeve or any other part of the shock because when there’s air trapped inside, you can cause a more serious problem—a severe injury or worse. So, never try to do it.
It is better to send your front fork to the nearest professional technician and see what they can do to help you out. If you don’t know where the trusted one is, you can directly get to Rodalink’s one-stop cycling store and get their professional team to help you.
To check whether or not your shock is stuck down, you can follow this step:
- Release air pressure from the shock by removing the air cap and depressing the Schrader valve;
- Use a pressure pump and pressurize the shock to 250 psi;
- If the shock doesn’t extend, then you can confirm that it is stuck;
- Contact the local mechanic or bring your bike to Rodalink’s one-stop cycling store to get the shock checked.
It is better to leave more technical things to the professional rather than risking it by doing it yourself. They will know how to fix seized suspension forks better than we do. Besides, injuring yourself or damaging a crucial part of your bike is the last thing you will want to happen.
Conclusion
Doing a makeover on your old bike can be fun if you enjoy the activities. However, changing some parts in a bike like a fork or a wheelset might get the warranty of your bike suspended hence, you shouldn’t do it to your brand new bike without consulting with a professional and making sure your modification won’t expel the warranty.
When it comes to dismantle Polygon mountain bike fork, we suggest it will be best if you get them to the official cycling store at Rodalink. Because in case your bike needs any parts replacement, you can still get the original part replaced with another brand new original part by the professional.
If you want to get another brand new bike to add to your collection, you should take a look at the Polygon bike. This bike is manufactured with an advanced frame material that is guaranteed to be more lightweight and durable than any of its competitors who use the same specification.
Most Polygon mountain bike are built with hydraulic disc brakes and groupset from the top-tier big brands like Shimano and SRAM. The suspension is also made by renowned brands like FOX and RockShox and the price they offer for their bike is still considered the most affordable one compared to any others in the market.
You can visit Rodalink now and pick one of the bikes that are most compatible with you. Rodalink has a wide range of bike selections all from the renowned brand with high-quality performance. Not only bikes, but they also have accessories, parts, and even apparels that will complete your biking journey.
By purchasing with Rodalink, if you purchase non-bike accessories, parts, and appeals for about SG$200 or more, you can also get the free delivery service for the non-bike stuff.
Fulfill your cycling dream with Rodalink now. If you are currently on a bit tight budget, you should try purchasing with ShopBack as your payment option because they bave2a a 0% installment charge. Cycling is super easy if you do it with Rodalink.