Have you ever come across a problem where your gear isn’t shifting? If you ever experience this, your bike is signaling you to change the rear derailleur. As a beginner, when hearing the word “change” it must be puzzling. But worry not, because you will soon know how to install a rear derailleur on a mountain bike after reading this article.
What is Rear Derailleur?

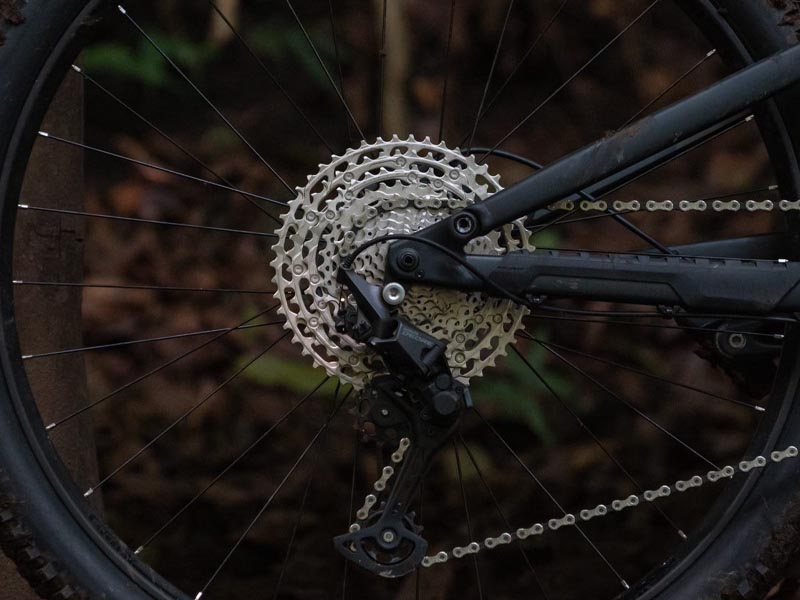
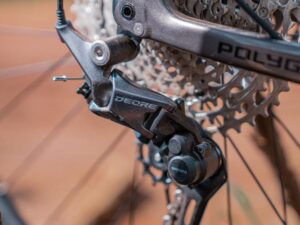
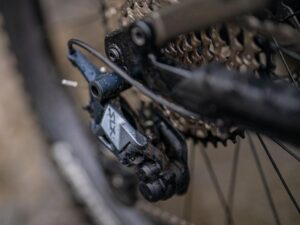
Before we talk about how to install rear derailleur on a mountain bike 2022, let’s get to know what the rear derailleur is and what roles it has on a bike. The rear derailleur is a mechanism of a bike that shifts the chain and the rear sprockets. Derailleurs are usually secured to the bike with a mounting bolt to the derailleur hanger.
Generally, there are three types of the derailleur, sorted by the length of its cage, being:
- Short cage derailleur: for bikers who run on a tight ratio of 13-26 rear cassettes with 53/39 front chainrings for road bikes or 12-23 rear cassette with 36/26 front chainrings for mountain bikes;
- Medium cage derailleur: for the medium ratio of 11-26 rear cassettes with 53/29 chainrings on road bikes or 12-32 rear cassette and 36/24 chainrings on the front for mountain bikes;
- Large cage derailleur: for wide ratio 11-42 rear cassettes and 52/36 front chainrings on road bikes or 11-42 rear cassette and 52/36 front chainrings on mountain bikes.
Note: bikers who run an 11-42 rear cassette with 1X single chainring on the front, can also consider using the medium cage derailleur.
The standard derailleur is commonly presented in old mountain bikes while the electric derailleur is found either in e-bikes or sometimes on road bikes. Regularly inspecting the rear derailleur is a no-brainer.
Normally a derailleur shouldn’t be making any noise but if you heard it making a noise during the shift, you might need to get it adjusted. If the noise still didn’t fade away after adjustment, it’s a sign that your derailleur should need a new replacement.
Besides the noise, here are some important things you need to pay attention to your derailleur when inspecting:
- If there’s any debris around or inside the chain and derailleur
- Make sure the shifting is not slow or hesitant on inward or outward shifts;
- See if the chain is out of alignment or not;
- Whether or not the chain keeps falling off;
Tools You Need for Installing Rear Derailleur
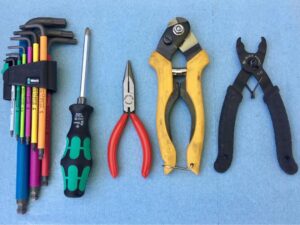
Before we go straight and talk about how to install rear derailleur cable and how to install rear derailleur hanger—or installing the rear derailleur in general, it will be perfect if you can prepare the required tool first. So what you will be needed are:
- Allen keys;
- Crosshead Philip screwdrivers;
- Cable cutter;
- Pliers;
- Chain breaker tool or chain pliers.
Steps to Install the Rear Derailleur on a Mountain Bike
You have now gotten your tool prepared, now let’s get into the business. For information, the derailleur nowadays is installed through the same method. By means, the Shimano rear derailleur installation instructions will have worked on SRAM derailleur installment too.
Here are the steps of installing the rear derailleur:
Remove the Old Derailleur
To begin, you will have to shift your chain to the smallest rear sprocket before pulling off the shift cable’s end cap and loosening the cable pinch bolt. Once done, remove the cable from the derailleur and then remove the chain.
Note that some chains have a special connector pin that needs to be replaced if removed. So if you don’t need to remove the chain for cleaning or replacement, simply remove the lower jockey wheel and rotate the cage plate so you can release the chain. After you get all the job done, unthread the derailleur mounting bolt counterclockwise to have it removed.
Install the New Derailleur
To install the new rear derailleur you will have to make sure that the current derailleur hanger is in a good condition and there’s no damage on the thread. If the hanger is not in a good shape, you will have to replace it first before installing the new derailleur.
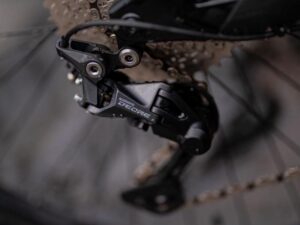
Now from the Shimano Altus rear derailleur installation instructions, you will have to attach the rear derailleur to the bike frame in the hole near the cassette with the arm of the derailleur and the jockey wheel hanging downwards before you insert the bolt and tighten it until the derailleur is secure.
Then put the chain back into the derailleur using the chain breaker tool. Lastly, put the shift cable back into the derailleur and pull it right. In this process, you can also tighten the anchor bolt so the cable flattens easily.
You have now successfully installed the new derailleur but it’s not the right time to ride on your bike yet. You will have to make adjustments and tune your rear derailleur until it can work properly.
Adjustment and Fine Tuning
You will have to limit both high and lower ends screw when working on adjustment by using the Philip screwdrivers and ensure your derailleur doesn’t move beyond the limit. Adjust the chain and the links accordingly then by using your hands, try to pedal the bike.
Shift the gears and check if the derailleur has worked properly or not. Go for a ride around your house area and see if everything is running smoothly or not.
Conclusion
After you have done installing your rear derailleur, make sure you regularly maintain it. Make sure your derailleur is clean daily. Scrap all the gunk off the wheel by using screwdrivers and use a rag to clean it accordingly.
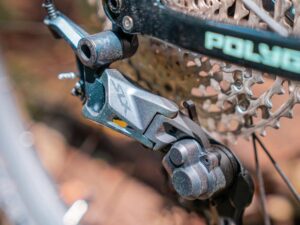
If you have the direct-mount rear derailleur like found in the rear derailleur for Polygon mountain bike Siskiu T series, you don’t have to get panicked when the shift couldn’t get into the granny gear. You probably just don’t get the idea how to install direct mount rear derailleur yet.
For a direct mount derailleur, you will need to get the B-Link off from the Allen bolt, and then you can mount the new derailleur directly to the rear derailleur to get the shifting work as it should be.
Are you looking for a new mountain bike? Or need new original parts to replace your current one? You can visit Rodalink and find everything you will need for your cycling necessity. From a wide range selection of bikes, accessories, parts, and apparels, anything you need, they’ve got it covered for you. All the items there are original and the best part is it comes with competitive pricing.
If replacing parts and maintaining the bike regularly is too much work for you who have a packed working schedule, you can entrust the repairing and maintenance to Rodalink‘s professional team at their one-stop cycling shop.
Become part of the Rodalink community right now and you will be granted special deals and eligible to join events exclusively for members only. Each of your purchases can be turned into a point that is redeemable for a purchase discount. Such a beneficial offer, right? All of the cycling shopping won’t be breaking your saving if you get them from Rodalink.