To get maximum comfort and have better control during your off-road biking, you will have to set up the suspension of your bike correctly. Need a helping hand on how to set up full suspension mountain bike and get the best riding experience? Check out this article below.
What is a Full Suspension Mountain Bike?
When you are stepping into the mountain biking community, you might often hear about hardtail and full suspension being mentioned during the conversation about bikes. If you are a newbie who just joined the club, you might wonder what exactly a suspension is and how it is important for a mountain bike.
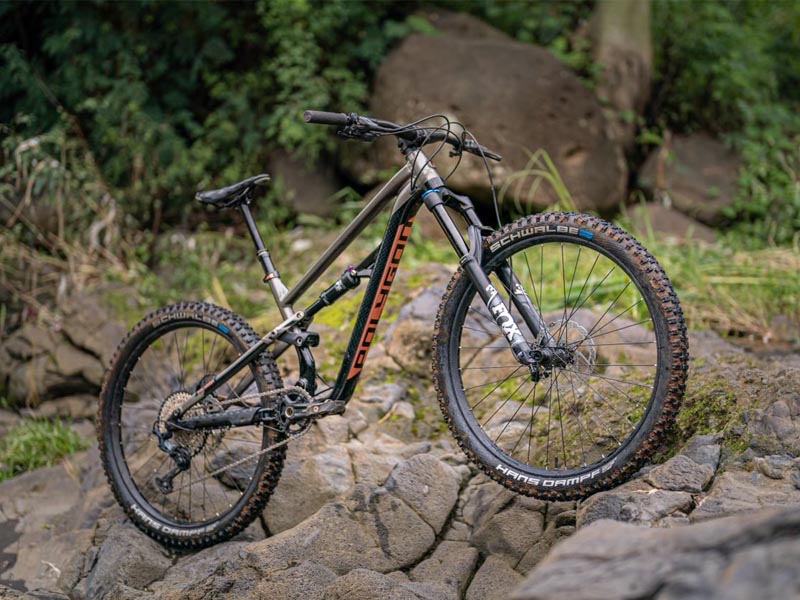
A full-suspension mountain bike features suspension in both forks upfront and rear shock. The total amount of suspension (single or full suspension) will affect the rider’s control over the mountain bike, the traction, and also comfort it offers during riding.
So if you wish to have an enjoyable ride and are not minding spending more budget on the bike’s investment, getting a full suspension should be within your consideration. Besides, a full suspension is also perfect for riders who mostly ride on the technical trails and need to carry more speed through the technical session of the trail.
But anyway, paying for the full-suspension bike alone is not enough because you will need to know how to adjust suspension on mountain bike according to your riding style and weight so your mountain bike will give you the utmost comfort and boost your confidence during the ride on technical and rough terrain.
You might need the MTB suspension setup calculator before making a change and start to follow the steps of how to adjust the bike’s suspension that is specifically tailored for you to enhance your riding need.
What Are The Effects of Different Suspension Adjustments?
Before we go deeper and talk about how to adjust rear suspension on mountain bike or how to adjust front suspension on mountain bike, it will be best for you to understand what effects it has on your bike and your ride if you adjust the suspension.
The base reason why you need to spend a couple of hours working with your suspension is to get the most comfortable ride. You have to understand that a suspension is dynamic. Although most manufacturers now offer the basic guidelines printed out for you to a decent basic setup, by the end of the day, it always depends on its rider’s weight, riding style, and riding terrains to make the suspension work on its absolute best.
Guide on Setup Full Suspension Mountain Bike
If you want to get the best result for your suspension setup, you can start with the three main functions of a mountain bike:
Setup the Sag

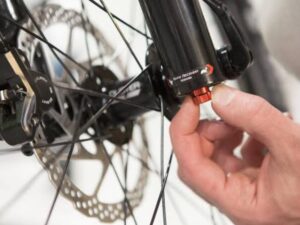
Sag is the amount of travel used when sitting on the bike. While most people don’t seem to talk about a sag regularly, performing the sag test will help you to measure whether or not your fork or shock already has enough air. So if you are looking for how to adjust air suspension forks, here is the step you will have to follow:
For compression dumping knobs functions, ensure it is in a fully open position;
- To get the oil moving through suspension and enduring your fork or shock is not stuck, you can stand up on your pedals and bounce a few times with a little pressure on the front of the bike—pretend like you are riding it;
- Stand in your neutral position on the bike and get someone to help you reset the rubber and O-rings on your stanchion;
- Sit on your saddle gently and dismount your bike;
- Take a look at your stanchion, if the outing of your bike is about a quarter of the way down stanchion, that indicates that your suspension has been set up correctly;
- If the o-ring is less than a quarter down the stanchion, there’s too much air in your fork or shock and you will need a shock pump to remove the air;
- If the o-ring is more than a quarter of the way down the stanchion, it indicates your fork or shock has too little air and you will need a shock pump to add some air.
Talking of the MTB air pressure guide, normally, you will need about 25%-35% of the total travel to sit into the travel. If you want to go by default, the mountain bike rear shock pressure chart from RockShox suspension can be seen in the picture below:
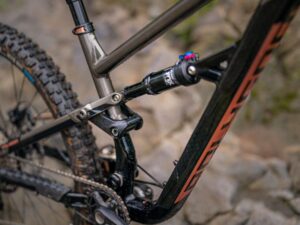
Adjust Rebound Damping
Once you have finished checking the correct sag, it is time to adjust the rebound damping. While it is usually up to personal preferences, having a too fast or too slow rebound can unpleasantly affect your riding. For the general rules of thumb, you can start with finding how many “clicks” of rebound you will have to work with.
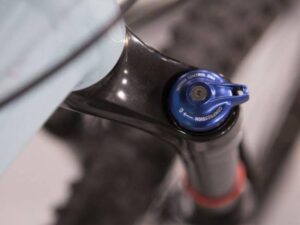
If you are riding on a bike with a Fox fork and rear shock like the Polygon bike Siskiu T8, you will have to turn the rebound knob towards the minus sign so you can remove all the damping. Once done, count the clicks as you turn the knob to the plus sign. Click back the other direction halfway once you have your number.
If you are riding the Siskiu T7 Polygon mountain bike with RockShox suspension, turn the rebound knob towards the jackalope to remove the damping and count the clicks as the knob is turning towards the turtle. Once you have your number, click back to the other direction halfway.
Starting there, you can feel the amount of rebound you have by compressing and releasing the saddle so you can check the shock rebound or compressing and releasing the handlebars to check on your fork. During this process, ensure you are pressing the handlebars or saddle with open hands to get an accurate feel of the rebound.
If you want a slower rebound you can add the damping and remove the damping for a faster rebound. Another way to connect to your rebound amount is by paying attention to it during your ride. If you feel like it is trying to eject you during a jump, drop, or when your ride feels extremely rough over technical terrain, try to slow your rebound by adding the damping.
On the other hand, if you feel your suspension is not returning to its natural position after riding over several bumps in quick succession, try to fasten your rebound by removing the damping.
Usage of Compression
Now you have to understand that every fork and shock is different depending on the manufacturer. You will have to understand your suspension by reviewing the suggestions and diagram on your bike manufacturer’s website or the pamphlet that came into your bike.
A little advice though, you will need your suspension active and the sag is in the correct setup when climbing the technical singletrack or when descending over rocks and roots. By having the suspension active, it will have your tires stay on the ground and increase your traction.
Conclusion

There’s nothing such as a perfect setting when it comes to suspension. It is more about finding a balance between sensitivity and support to compromise. Hence, the most important thing is to find the suspension balance suitable for your riding style and terrains.
In general, rougher trails will favor a faster rebound setup as the shock didn’t have enough opportunity to return to the appropriate length and will be in a portion of the shock stroke that’s firmer than it needs when handling the hit.
Have trouble adjusting your bike suspension or you simply don’t have enough free time to do it by yourself? Don’t worry, you can entrust it to the professional team at Rodalink’s one-stop cycling store. Just tell them about your riding style and the terrain you often ride on, and they will have your bike suspension adjusted perfectly for you.
If you happen to look for a new mountain bike, consider getting the full suspension Polygon mountain bike like the Siskiu D series (cross-country mountain bike), Siskiu T series (trail mountain bike), and Siskiu N series (enduro mountain bike).
The reason behind this recommendation is because Polygon bikes are manufactured with high-quality components and offer a competitive price that will get you the best performing bike without having to break your bank account in the process.
You can get the original piece only at Rodalink. Aside from Polygon mountain bikes, Rodalink also offers a wide range of bikes, accessories, parts, and apparels from renowned brands that you can pick according to your interest and budget.
Get the perfect bike to deliver to you in a ready-to-ride form so you can hit the road immediately without having to spend hours learning how to assemble the bike. You can also choose the “Store Pick Up” service for all non-bike products where you can collect your purchased item on Rodalink’s offline store once you have received the pickup confirmation email.
You can also claim the free delivery for non-bike items for every purchase of SG$200 or above. There’s no other offer better than what Rodalink can deliver, so no need to hesitate anymore, visit Rodalink and start your cycling journey with them.