If you are a beginner at mountain biking, this article will help make your first experience safer and more enjoyable. Check out the tips below!
Bike Check
As a beginner, it is very important to check and set up first before starting to ride. These checks and setups are done so you can find a comfortable cycling position. So, here are some things you should check and set up, riders!
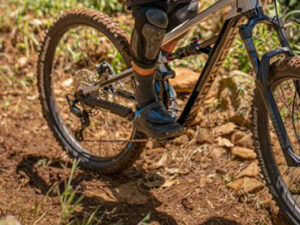
1. Tire Pressure
Adjusting the air pressure of a bicycle’s tires is an easy, free method for improving its performance. Though this step is often overlooked, it can significantly affect your bike ride experiences. Low-pressure bicycle tires absorb surface shock and vibration while also absorbing some of the force of a rider’s stroke, whereas hard tires transmit vibrations throughout the bike, suspension system, and body. Off-road mountain bikes need tires that can offer a good grip, so the bike is fast but also easy to control. Mountain bike tires have wide treads and thick studs that provide a strong grip, even at low pressure. The ideal air pressure on an MTB bicycle for beginners is around 20-25 psi.
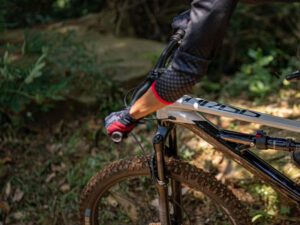
2. Handlebar Controls – comfort positions
Make sure you’ve got your handlebar controls in a really comfortable position. Riders can make adjustments to the angle of the handlebars and the angle of the components or parts (such as shifters or brakes). Keep your handlebar controls in a very comfortable position so you can always use them and easily reach them. Top tip, don’t over-tighten your bike bolts, it’s a mistake most of us have made when we first started cycling. So make sure you don’t over-tighten it and run the risk of threading the bolt off.
3. Saddle High
To begin with, make sure your seat is as straight up as possible. Some riders prefer to tilt the saddle back a little for comfort when doing tricks or downhill descents. Others prefer to have the tip of the saddle slightly bent, which makes it easier for them when going uphill. Others like a posture that’s more inclined forward—but a straight horizontal is best suited for all types of riders. A saddle that is set too far forward narrows the rider’s range of motion disrupts the perfect riding position and makes it feel like too much weight is on the front of the body.
The general checks that are often used are the ABC check, which looks at three things: air pressure in your tires, brake function, and chain lubrication. This is a quick way to make sure your bike’s main parts are working well before riding it.
Essentials Skills
After knowing what you need to check and set-up from your bike before cycling, these are basic tips or MTB essentials skills that beginners should know before starting MTB riding:
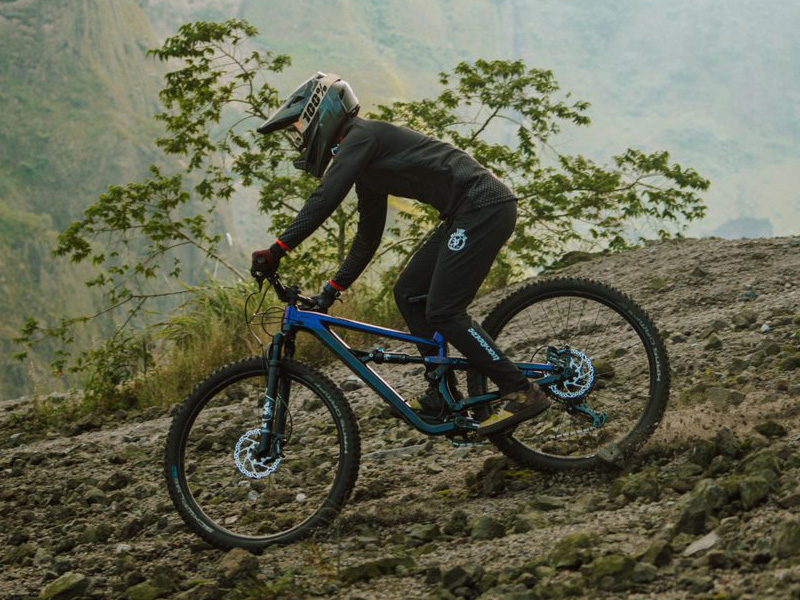
1. Neutral Stance/Attack Position

The attack position/ready position is a foundation skill on which much of your mountain biking technique is built. When you’re climbing, descending, or entering a technical section of trail and not pedaling—the attack position is the one to ride. Because mountain biking is generally an aggressive activity, you’ll be shifting your weight and leaning into turns to maintain traction on uneven terrain. To ride a bike, stand upright with your knees slightly bent and distribute your weight evenly between both feet. Then shift from side to side or front to back by leaning in that direction.
2. ARC
Arc is all about knowing your range of motion to achieve a better center of gravity. This “better” term depends on the condition. So the ready position gives you a really strong stance, helping you move around the bike and deal with rough terrain. It also helps with those big ups and downs.
When you are riding in a neutral stance, think about your hips as being the center of gravity and where your weight should be distributed. On flat terrain, your body should be positioned centrally to the bike’s frame. When you ride into a downhill section, shift your hips back and lower yourself slightly over the bottom bracket—whereas, in an uphill climb, it’s best just to move your knees.
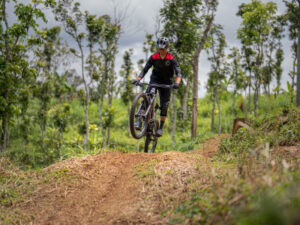
3. Pedalling
When pedaling, try to spin circles rather than going “stomp-clump”: that way you’ll keep consistent power through your pedals, and use your body movement when climbing. This will give you more traction—meaning getting up climbs should be easier!
Spinning circles is relatively easy with clip-less pedals—just pull up on the upstroke. But flat pedals require a different strategy: scrape back against your pedal as you push down with your toes. To maintain traction on your rear tire, you should spin nice circles while seated and in motion. Standing up and using your core muscles—and even your arms—can give you the extra strength needed to get through the pedals.
4. Braking
It’s important to know how to brake when biking. You should use two fingers on your hand: your index finger and middle finger. This will give you leverage so that you can control the pressure applied onto your front wheel and stop yourself quickly if necessary! Using both the front and rear brakes to stop is safer than using only one. If you rely exclusively on your back brake, it will create problems such as skidding because of how heavy you are relative to your bike’s weight distribution.
Release part of a brake before reapplying if you feel yourself losing control. It is important to master the skill of feathering your brakes—repeatedly releasing and reapplying pressure on them without locking so that you can maintain control over speed while slowing down.
5. Soaking Up

When riding downhill and through technical sections, it is much easier if you can get your seat out of the way. So use either a quick release or Allen key to lower your saddle as far down as possible (if you have one), and place both feet on the pedals at an angle slightly wider than 90 degrees for stability. You can use this strategy all the time so you can move your hips around and soak up things like that: when the bike is coming up to you, let it come then push down. And stay in a safer position behind whatever’s going on ahead of you.
6. Head Up
Moving around the bike and adjusting your position according to terrain, other riders, or traffic is one of the most important things you can do. Keeping your head up will also allow you to look at what’s in front of—and behind—you so that won’t get caught off-guard by potholes, oncoming cars, or overly assertive fellow cyclists. When you’re riding, it’s important to look ahead and plan your moves so that when you move your head up and forward, the rest of your body follows. Try not to look at objects in the path of your bike. Keep your eyes on where you want to go, and focus on what’s ahead.
7. Cornering
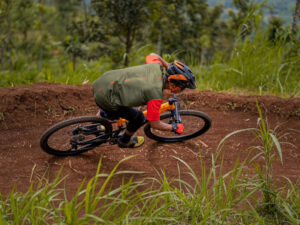
When approaching a corner, start dropping your outside foot to the pedal. Your bike will feel more stable and sure-footed because of this simple move. By lifting your inside foot while dipping the bike, you’ll clear any obstacles and lower your center of gravity to give yourself more traction. So really try to open up the corners, be smooth on your bike and again be smooth on your breaks. If you do have to brake—like coming down a hill—think about trailing your brake: feathering it lightly before coming off that front tire for grip.
If you live in Singapore and lately have been looking for a “bike shop or bike shop near me”, or are looking for a mountain bike in Singapore, Rodalink provides a quality selection from trusted brands. Don’t worry, there are many Rodalink promos available, ranging from 0% OCBC installments to free delivery and Shopback, Pay Later. Just check the website for details on the ongoing promo right now! Not only that, joining Rodalink Singapore will also give you many benefits. Come on, start your exciting cycling trip with us!
Discover Your Needs at Rodalink Now!