Repairing bikes can be a tricky task, especially for those who are new to cycling. Many beginner riders and even athletes may feel overwhelmed when faced with mechanical issues or general maintenance. However, it’s important to remember that with a little bit of knowledge and practice, anyone can learn to fix their bike. This article will cover 7 bicycle repair mistakes to avoid, so you can fix your bike with more confidence.
1. Reversing Tire Rotation on Installation
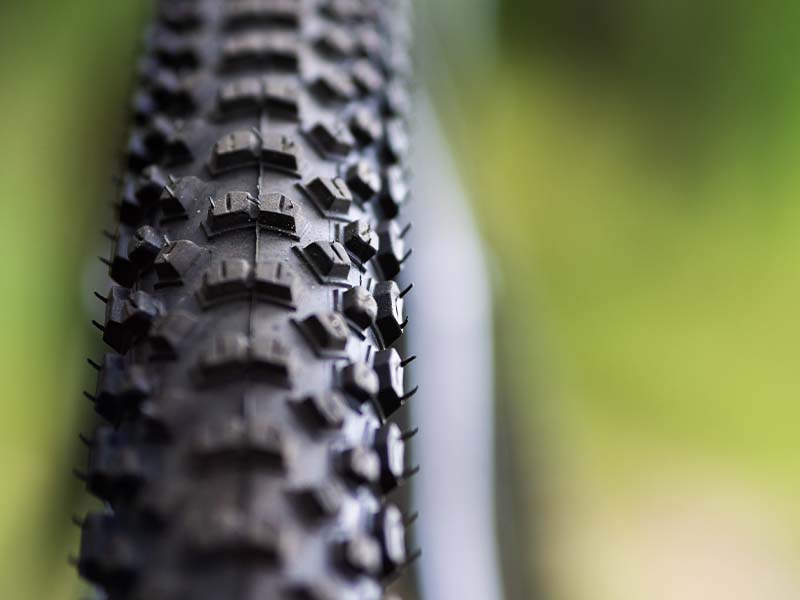
One common mistake that riders often make is installing their tires in the wrong direction. This is known as reverse tire rotation and can lead to reduced traction, handling, and increased wear and tear on the tire.
To avoid this mistake, it’s important to carefully inspect tires before installation. Look for directional arrows or markings on the tire that indicate the correct orientation. If you’re unsure, check the manufacturer’s instructions or ask professionals for help. When installing the tire, make sure it’s properly seated on the rim and that the tire bead is evenly seated all around. Finally, check the tire pressure to ensure it’s within the recommended range.
Read more: 4 Easy Tips on How to Choose Your Hybrid Bike Tires
2. Over-tightening Bolt

Over-tightening the bolt is also a common mistake. It’s important to know that this can cause serious damage to your bike. Too much force on a bolt can strip the threads, weaken the material, or even cause it to snap. It’s especially important to be careful with carbon components, which are easily damaged by over-tightening.
To avoid this mistake, it’s important to use a torque wrench when tightening bolts. A torque wrench allows you to apply the correct amount of force to a bolt, ensuring that it’s secure without damaging the material. You can find the correct torque settings for your bike’s components in the manufacturer’s manual or online.
Another tip to avoid over-tightening bolts is to use grease or lubricant on the threads. This helps reduce friction and allows you to achieve the proper torque without applying excessive force.
3. Losing Cable During Internal Routing
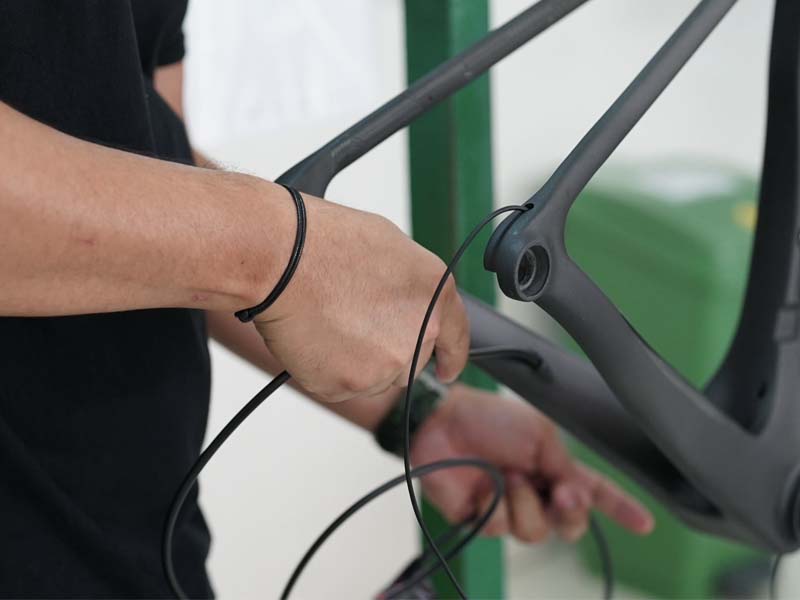
Internal cable routing can be tricky, and losing the cable during installation is a common occurrence. First and foremost, take your time and don’t rush the process. Be patient, and use a flashlight to ensure the cable is being guided properly. It’s also important to use a high-quality cable that is specifically designed for internal routing to reduce the risk of fraying or breaking.
Start by inserting the cable into the entry hole and carefully feeding it through the frame, making sure to use a cable guide or a magnet to help guide it through. Once the cable has been fed through, use cable housing to keep the cable in place and prevent it from rubbing against the frame. Finally, make sure to check the cable tension and adjust as needed to ensure proper shifting or braking performance. Visit Rodalink for professional help.
4. Sealant Burst on Tubeless Tires
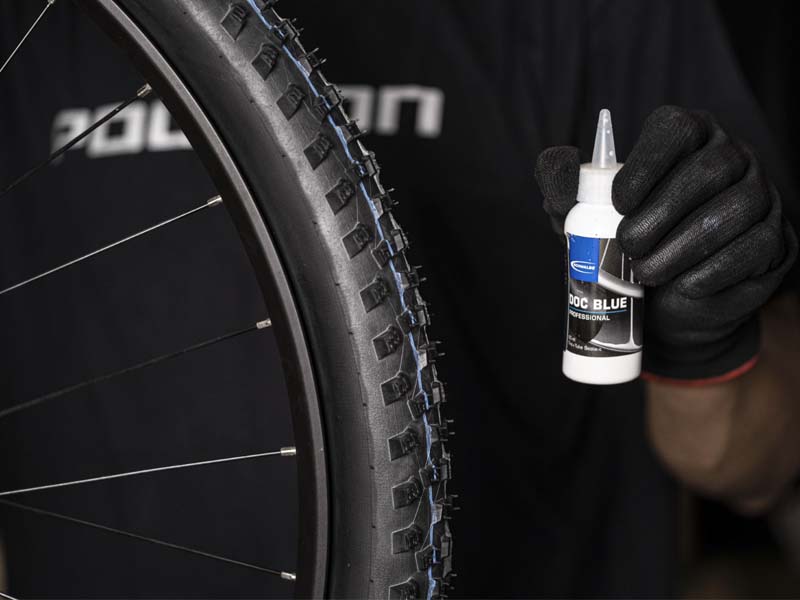
Next on the list is not applying enough sealant or not applying it properly as these can lead to sealant bursts during rides or installation. To avoid this, make sure you’re using the correct amount of sealant for your tire. Most manufacturers provide recommended amounts based on tire width. Also, be sure to shake the sealant bottle thoroughly before application to ensure it’s properly mixed.
When applying sealant, remove the valve core and pour the sealant into the tire through the valve stem. Then, reinsert the valve core and rotate the tire to evenly distribute the sealant. Finally, inflate the tire to the recommended pressure and spin the wheel to ensure the sealant has coated the entire inside of the tire.
Read More: 5 Tips to Avoid Tire Puncture
5. Using Wrong Lube
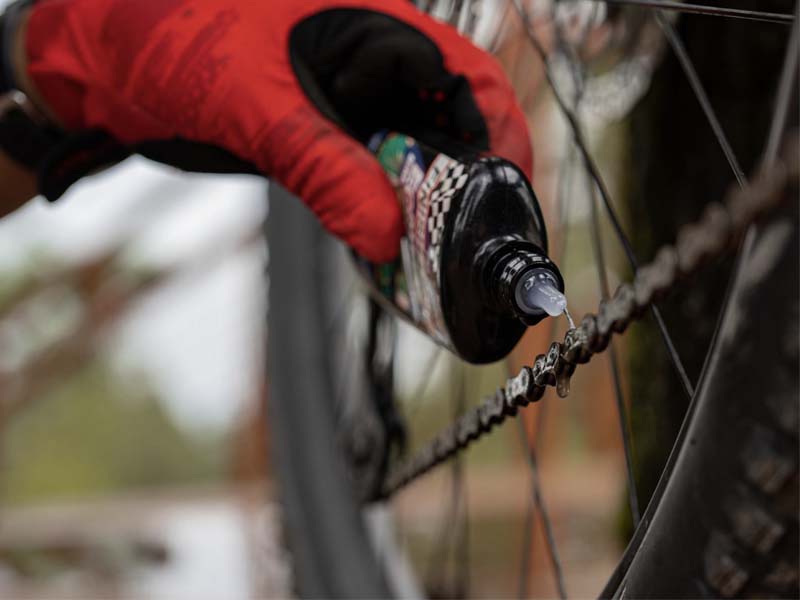
It’s important to understand the difference between wet and dry lubes. Wet lubes are used in wet and muddy conditions as they stay on the chain longer and offer better protection against rust and corrosion. Dry lubes, on the other hand, are used in dry conditions and are less sticky, reducing dirt and grime buildup.
Always choose a high-quality lube that matches your riding conditions. You can ask your local bike shop or trusted mechanics for recommendations. When applying lube, use a small amount and wipe off any excess. Remember to reapply lube regularly to keep your bike running smoothly.
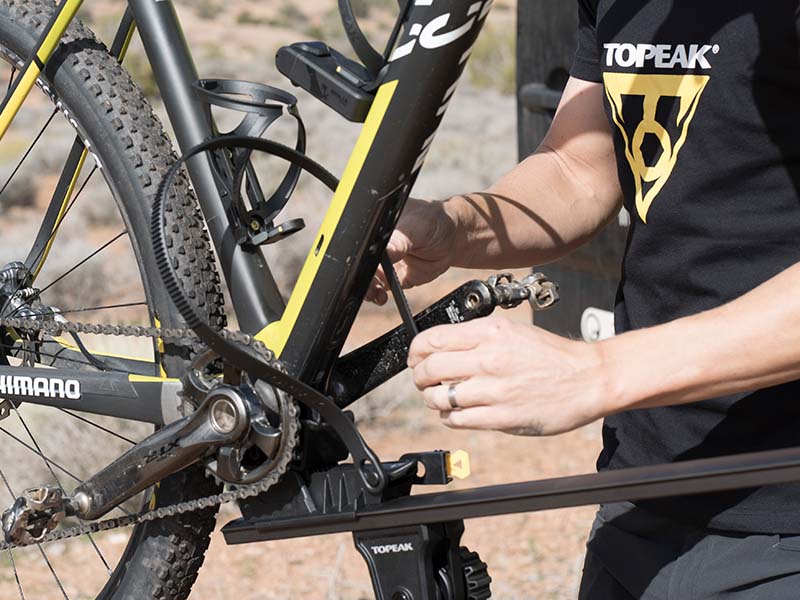
6. Removing Pedals
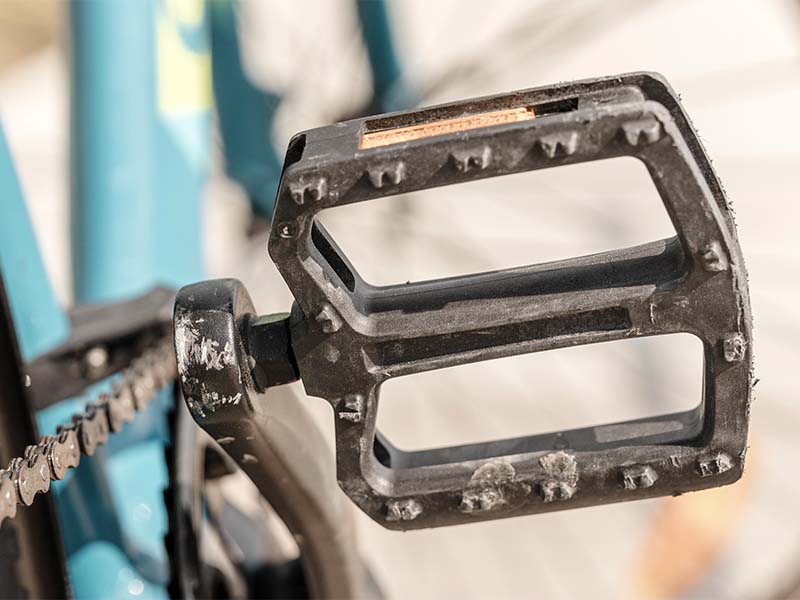
Make sure you use the right tools for removing the pedals, a pedal wrench. This wrench is longer and thinner than a regular wrench to loosen the pedals. It’s also important to know the different threads of pedals on each side-the right side is threaded clockwise and the left side is threaded counterclockwise. This means that you need to turn the wrench in the opposite direction for each pedal.
Upon removing, position the bike properly for pedal removal. Flip the bike upside down or use a bike stand to stabilize the bike. Once the bike is secured, use the pedal wrench to loosen the pedal by turning it counterclockwise for the right pedal and clockwise for the left pedal.
It’s also important to note that some pedals may have a little resistance due to their tight fit. Don’t force the wrench or use excessive force, as this can damage the pedals or the cranks. If the pedal is stuck, try applying a little penetrating oil to the thread area to loosen it up.
7. Greasing Seatpost
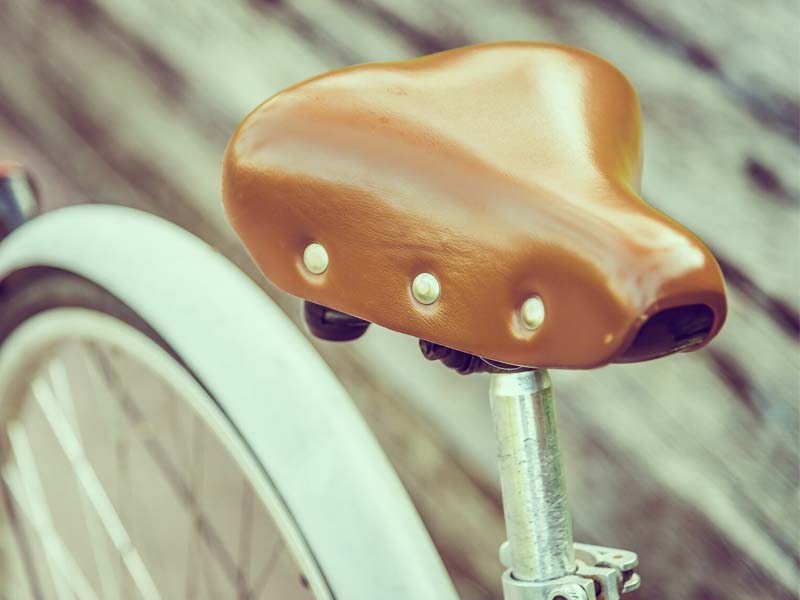
The last common mistake to avoid is greasing the seatpost incorrectly. It may seem like a simple task, but if done improperly, it can lead to many issues, including a slipping saddle.
To grease a seatpost, start by wiping it clean with a cloth to remove any dirt or debris. Then, apply a thin layer of grease to the seatpost, making sure to spread it evenly around the entire surface. Be careful not to over-grease, as this can attract dirt and cause slip posts. It’s also important to avoid getting grease on the saddle or the clamp, as this can cause them to slip as well.
When reassembling the seatpost, make sure to tighten the clamp with enough torque. After tightening the clamp, adjust the saddle to the desired position and make sure it is level. Finally, give the saddle a test ride to make sure it is secure and comfortable.
Conclusion
Proper bike maintenance is essential for keeping your ride running smoothly, but there are common repair mistakes that can be easily avoided. Installing tires in the wrong direction, over-tightening bolts, losing cables during internal routing, burst sealant on tubeless tires, using the wrong lube, removing pedals incorrectly, and greasing the seatpost incorrectly are all mistakes that can decrease a fun biking experience.
If you want to make sure your bike is ready to hit the road and is at its peak performance, come visit our store and get your bike checked by professionals so you can ride in comfort.
Repair & Service Your Bike Now!
Discover Your Needs at Rodalink Now!