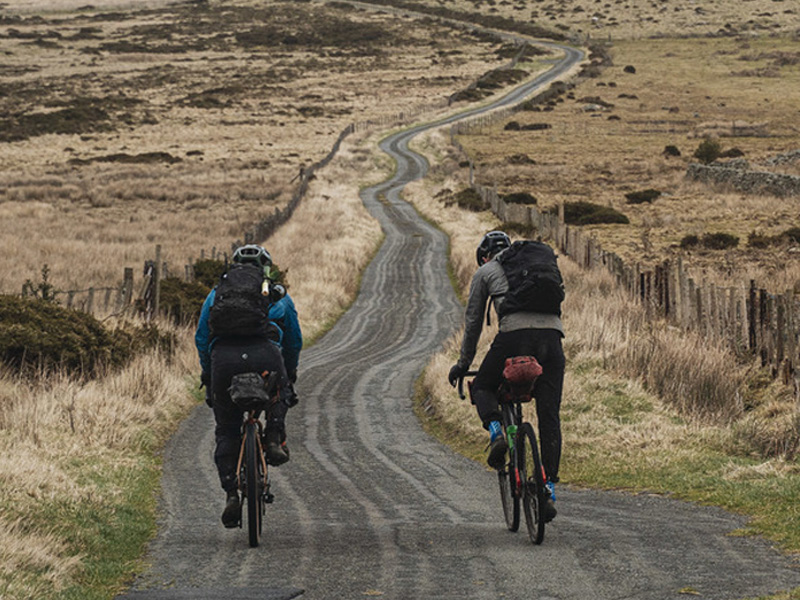
Bikepacking, in its most traditional form, consists of exploring unpaved roads and trails on a mountain bike. But there’s no one type of bike that works best in every situation. Bikepackers use a wide range of bikes and equipment on their trips. When choosing a bike, it is important to consider your priorities and then decide which features are most important.
Naturally, a bike built for pavement is not the best choice for rugged singletrack trails. When choosing a bike for bikepacking, it’s helpful to think about the kind of terrain you wish to ride and let that define what type of machine suits your needs most.
Gravel bikes and rigid mountain bikes are both suitable for riding on mixed surfaces. With their wider, more flexible tires and sportier geometry, gravel bikes offer a smoother ride than many other types of bicycles—especially over rocky or loose terrain. A fully rigid mountain bike is heavier and slower than other types, but it may be more suited to dirt roads.
Gravel bikes are designed to be the lightest and fastest bikes in different areas of cycling. This bike is designed with the concept of minimalism, aerodynamics, lightness and ergonomics for smooth and gravel roads. Apart from that, gravel bikes are suitable for accompanying your bikepacking because there is a lot of space or mountings to carry the things you need when you are bikepacking.
Hardtail mountain bikes are great options for bikepacking tours that take you on occasional singletrack. A front suspension will smooth out your ride, making it easier to navigate up and over roots or rocks. If you’ll be riding primarily on rugged mountain trails, a full-suspension mountain bike is a way to go. Another option for handling rough terrain is fat tires—they give your ride an extra smoothness without adding any complexity that might come with suspension.
Things To Check And Prepare
-
Route
The best way to start planning an overnight trip is by keeping it simple. You could ride a route that you know well—but take a break from your normal routine, pop open the tent, and sleep under the stars! No surprises or difficult decisions when you’re just getting used to being out there.
Before you set off on a camping trip, check the restrictions that apply to your destination. Then make sure that you are not planning to camp anywhere unsafe—and always take a good look at the route before setting out and mark any points where you can get more supplies.
-
Clothes to wear
The first thing to pay attention to is to know the condition or weather when bikepacking. If the weather is hot, you don’t need to bring a thick jacket, just a cool long-sleeved shirt. On the other hand, if the weather is cold (rainy season) then you need to bring a jacket or warm clothes. Wearing special cycling clothing will make your bikepacking experience more comfortable. Bike shorts, jerseys, and socks are essential for riding. You’ll also want rain gear to keep you warm. You can find bike apparel and bicycle accessories at Rodalink Malaysia, with a wide selection and the best prices.
-
Food to bring
Make a sandwich and pack some food bars, nuts, or dried fruit. Make sure you take food that won’t get crushed or smashed in your bag. Make sure that it’s in an extra little Ziploc bag, or is robust enough not to break if bumped around over stuff on the way to camp.
Today you can get very small portable cooking stoves that weigh almost nothing and take up hardly any space. They’re inexpensive, but remember to pack a lighter in with them—you’ll need one so that you can take food along to cook. You could get some nice, lightweight dehydrated meals for this purpose, or instant ramen—those are always good in a pinch! Food is important to have on a trip, but it is also nice to be able to enjoy something else like coffee or hot chocolate when you’re cycling.
-
Water supply
Always make sure you have enough water with you, or know how to get more. If you have a small frame, it might be difficult to fit water bottles in cages on the frame and still leave room for other items. One solution is to use an elastic waistband or belt inside your shorts; put one bottle of water at each side of your hips. Otherwise, you can strap additional cages onto your front fork. There are a number of options when it comes to carrying water on your bike: you can stuff a large water bottle into the front fork, mount cages that will hold bottles in place, or have an internal bladder for hydration.
-
Bike Knowledge
The next tip for one of your bikepackers is to learn some basic knowledge about bikes so that you can repair things when needed. Make sure you have the actual tools (that fit) on your bike! If you learn how to change a flat tire and make some basic repairs, you’ll feel more confident about biking—and less likely to panic if something goes wrong.
-
Weather
Before you go, check the weather and make sure you bring along extra gear if it’s going to be cold or rainy. It is important that you have a bike that can carry some equipment for sleeping in, food for your trip and a map so you don’t get lost.
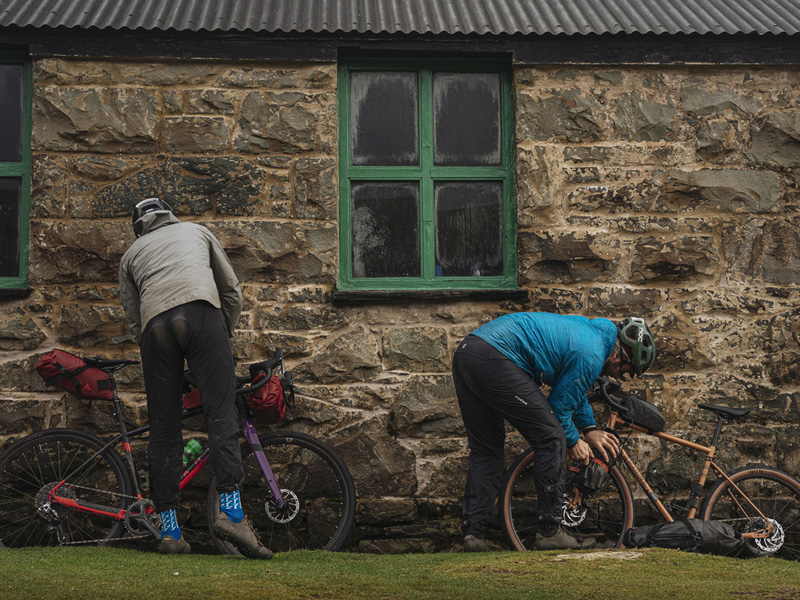
How To Bring It
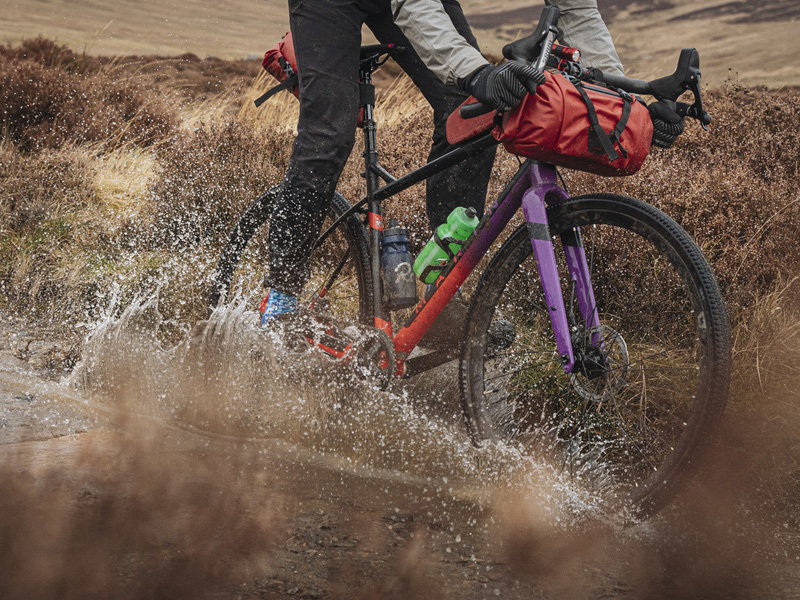
The next step is to decide what sort of luggage you want or how you’re going to carry all your equipment. The most practical way of carrying belongings on your bike is by using panniers or saddlebags attached to the frame. Not only does this leave you free to use both hands for either balance, braking, or accelerating—it’s also easier on your back and less conspicuous too!
So you need a bike that can accommodate pannier racks, either by having eyelets on which the rack can be attached or perhaps even better with specially designed fittings for attaching the panniers directly to your bicycle frame. Another option is bikepacking bags, which are specially designed to be stowed away in various spots on your bicycle: you might have a saddlebag that attaches under the seat; or a frame bag—one of these can go inside the main triangle where all the spokes meet up; then there’s what they call bar bags that fit onto either side of your handlebars.
To save space on your bike, you can get a sleeping bag that rolls up and then strap it to your handlebars. If you strap things like sleeping mats underneath your top tube, make sure they’re secured so they don’t fall off. If you need to decide between panniers and bike-packing bags, then the most important thing is usually what type of trip it will be. If I’m road cycling and need to carry groceries or extra gear, I usually use panniers. If my trip is off-road, then bikepacking bags are the way to go.
If you live in Malaysia and lately have been looking for a “kedai basikal or kedai basikal near me”, or are looking for a hardtail mtb or gravel bike for your bikepacking journey, or bike apparel to support your cycling activity in Malaysia, Kedai Basikal Rodalink provides a quality selection from trusted brands. Don’t worry, there are many Rodalink promos available, ranging from 0% installments to free local delivery with various payment options. Just check the website for details on the ongoing promo right now! Not only that, joining Rodalink Malaysia will also give you many benefits. Come on, start your bikepacking trip with us!